It happens without warning—a stray baseball, a sudden hailstorm, or an accidental slam. One moment your aluminum window is fine, the next, you're staring at a cracked or shattered pane. The good news? You don't always need to call a professional or replace the entire window unit. Replacing just the glass in an aluminum frame is a manageable DIY project if you have the right tools, a bit of patience, and follow a careful process.
Before you start, your safety is the top priority. Always wear thick work gloves and safety glasses when handling broken glass. Lay a drop cloth underneath the work area to catch any shards and make cleanup easier.
You'll need:
1. New glass pane (correctly sized)
2. Glazing points or stops
3. Glazing putty or a rubber gasket
4. A strong putty knife or a small, flat pry bar
5. A flat-head screwdriver
6. A utility knife
7. Tape measure
8. Silicone-based lubricant
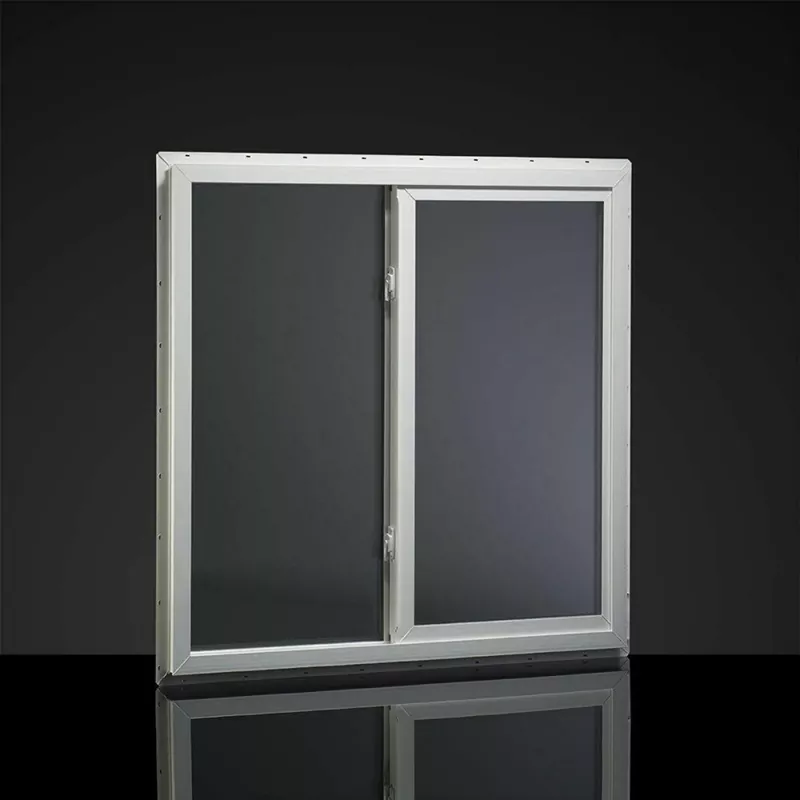
Most aluminum windows are designed with a sash—the frame that holds the glass—that can be removed from the main window frame. Look for small screws or clips on the sides of the sash. Loosen these, and you should be able to carefully tilt and lift the sash out, placing it on a flat, stable surface like a workbench or a table covered with a blanket. This makes the job much safer and more comfortable than working at height.
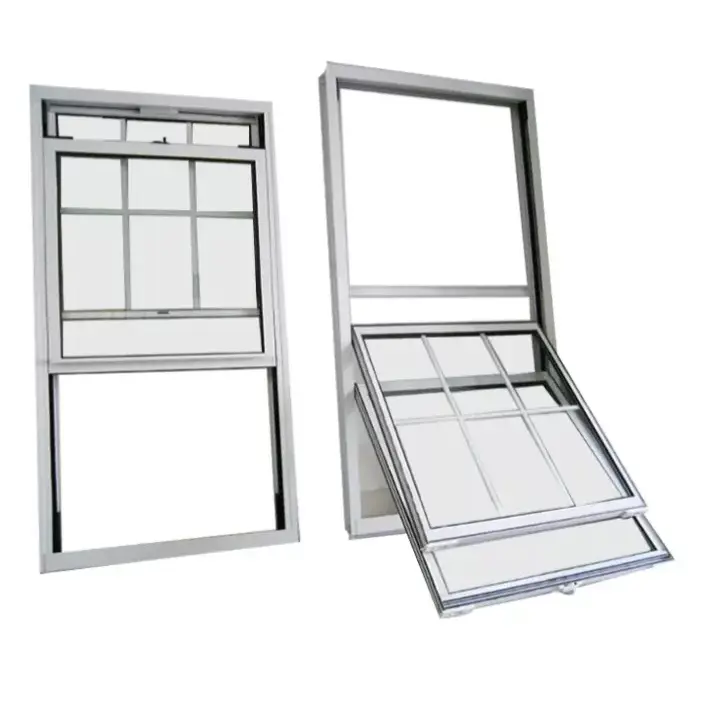
If your window doesn't have a removable sash, don't worry. You can work on the glass directly in the frame, but you'll need to be extra cautious.
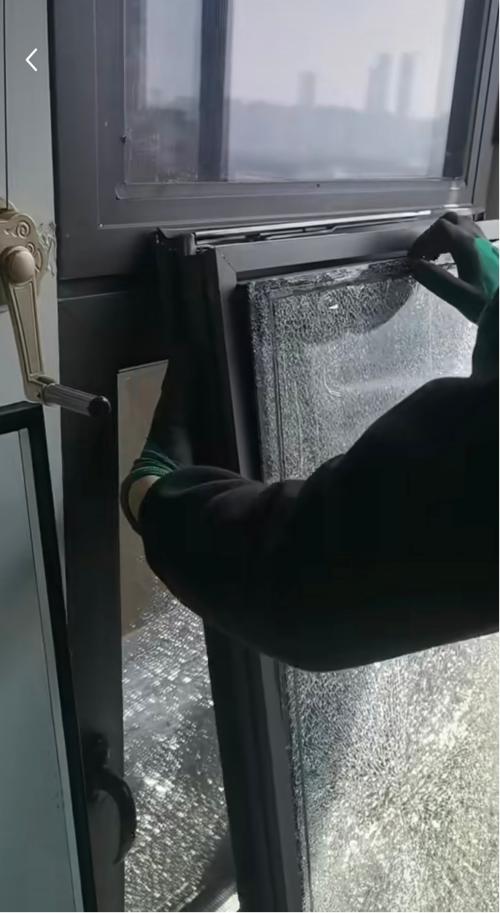
This is the most delicate part. You need to remove the broken glass and the old seal.
1) Locate the Retaining System: Older aluminum windows often use glazing putty and small metal triangles called glazing points to hold the glass. Newer models typically have a thin, flexible rubber gasket or a vinyl stop that snaps into place.
2) For Windows with a Rubber Gasket: Start here, as it's the easiest method. Use a flat-head screwdriver to gently pry up a corner of the gasket. Once you have a section loose, you can often pull the rest out by hand. The glass should then be free.
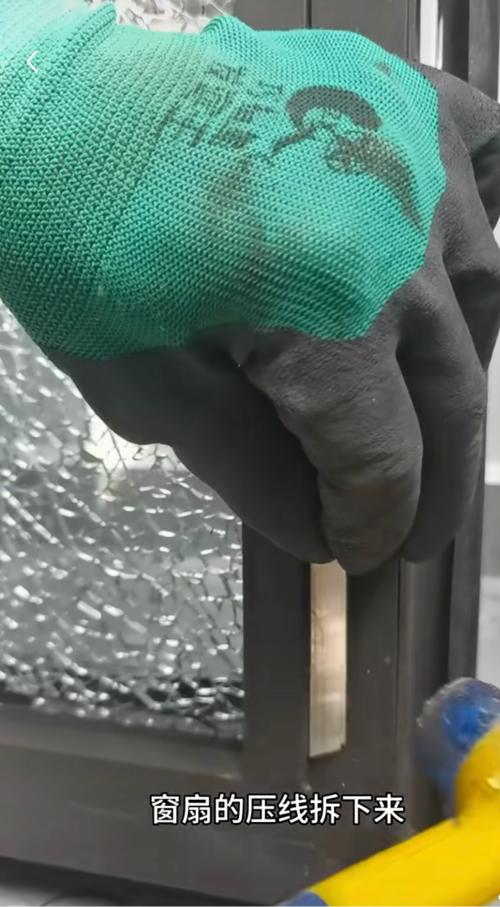
3) For Windows with a Vinyl or Aluminum Stop: These are thin strips that are either snapped or screwed into the sash frame. Look for tiny screws at the ends. If there are no screws, carefully insert a putty knife between the stop and the frame and gently twist to pop it loose. Work your way around the entire pane.
4) For Windows with Glazing Putty: Use a utility knife to score along the edge where the putty meets the frame. This helps break the seal. Then, use your putty knife or a pry bar to carefully chip away the old, hardened putty. Be patient to avoid damaging the frame. Once the putty is mostly removed, you'll see the glazing points. Pull these out with pliers.
With the retaining system removed, you can now lift out the broken glass. Clean the channel in the frame thoroughly, removing all remnants of old putty, sealant, and debris. A clean channel is essential for a watertight new seal.
This is a critical step. Do not rely on the measurements of the old glass pane. Use your tape measure to get the exact height and width of the inside channel of the sash frame. Measure twice to be sure. When you order the new glass, subtract about 1/8 of an inch from both dimensions. This provides a necessary expansion gap to prevent the glass from cracking under stress from the frame expanding and contracting with temperature changes.
For an aluminum window, you'll typically use double-strength glass, but for larger panes, consider tempered glass for added safety.
Now for the rewarding part—putting it all back together.
1. Apply a Bed of Putty (if applicable): If your window uses glazing putty, roll a thin rope of new putty and press it into the clean channel in the frame. This creates a waterproof bed for the glass to sit on.
2. Place the New Glass: Carefully set the new glass pane into the frame, pressing it gently into the putty or directly onto the clean channel. Do not force it.
3. Secure the Glass: For putty-style windows, push new glazing points into the frame about every 4-6 inches to hold the glass securely. Use the flat side of a putty knife against the point and tap it gently with a hammer. For gasket-style windows, simply press the rubber gasket back into its groove around the entire perimeter of the glass. You might find it helpful to use a small drop of silicone lubricant on the gasket to make it slide in more easily. For stop-style windows, snap or screw the retaining stops back into place.
Run a bead of clear, waterproof caulk along the exterior seam where the glass meets the frame (or where the gasket meets the frame). This is a crucial extra step to prevent drafts and water leakage. Smooth the bead with a damp finger for a clean finish.
Allow any putty or caulk to set according to the manufacturer's instructions. Finally, carefully lift the sash back into the main window frame, secure the screws or clips, and you're done.
With the new glass in place, your aluminum window should look as good as new and function perfectly, restoring clarity and insulation to your space. Regular maintenance, like cleaning the tracks and lubricating the moving parts, will keep your windows operating smoothly for years to come.